Mechanic's tip: How to replace pins and bushes on a backhoe loader and why you need to do it
The work of construction equipment is mainly related to digging, pushing and loading the earth. Parts such as the boom, bucket, boom joint are responsible for this. All these components are connected by pins and bushings. Therefore, it is very important to ensure their good condition, regularly inspect and lubricate. lubricate. It is necessary to use the right grease and during lubrication check whether the lubrication points and channels are working properly.
Pins and bushings are considered consumable parts because sooner or later they wear out. They should not be neglected and allowed to wear out completely, as this can lead to even more serious failures. In addition, timely replacement of parts helps to avoid expensive repairs in the future. An excessively worn pin (according to the principle that one looseness causes another) damages the bushing, which in turn damages the socket for its fixation. In this case, a simple replacement of the bushing will no longer help - the socket will have to be restored, which is very expensive and complicated.
Neglecting or ignoring the pins and bushings can make work more difficult, as the resulting play prevents precise control of the equipment (operators joke that they can’t get the bucket into the hole accurately). Over time, these gaps can increase, and can eventually lead to things like boom breakage, which can be dangerous for people working nearby.
When replacing pins and bushings, it is best to replace all parts at least in the same component, since it still requires disassembly. This avoids rework shortly after the repair. If one pin and bushing requires replacement, it is likely that the other components will also wear out quickly, even if they currently look good. If a pin connects two elements, it is necessary to replace all parts of the connection.

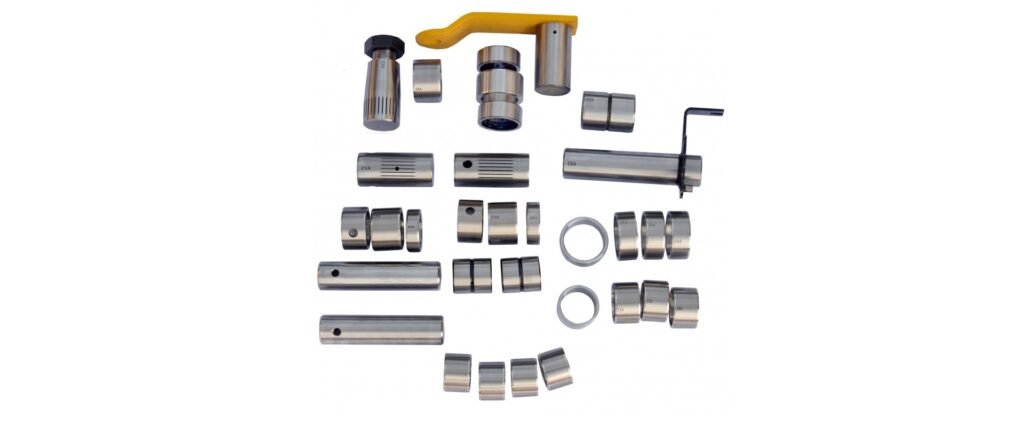
Replacing the pivot pins and bushings on a backhoe loader
Before replacing the swing frame bushings, it is necessary to thoroughly wash the equipment to remove dirt and grease residues - this will make the work easier.
Then, the excavator should be placed on a solid base and the outriggers lowered so that it does not rest on unstable tires. The frame should be additionally secured by placing stands or wooden blocks.
Then fully extend the rear boom. It is best to use the widest bucket to make the removed boom more stable. Remove the pin securing the boom lift cylinder and fully retract the piston rod. Place flat containers under the rear distributor to collect any oil that may have leaked from the disconnected hydraulic hoses.
This oil is not suitable for reuse due to high contamination. After unscrewing the hydraulic hoses, move them through the slewing frame, place them on the boom and secure them so that they do not interfere. Then attach the rear boom to the lift (using certified straps), remove the pins connecting the boom to the slewing frame and move the entire boom to the side, protecting it from tipping over.
Next, remove the locking screw for the pivot cylinder pins and knock them out. Then, dismantle the mounting plate, unscrew the hydraulic supply hoses and remove the pivot cylinders.
Now hang the swing frame on a hoist and remove the lower pin. Since the pins will be replaced with new ones, there is no point in unscrewing the nut - it is often tightened too much, so it is better to cut it off with an angle grinder. After removing the nut, knock out the pin with a large hammer - this can be difficult due to the conical joint. Then remove the upper pin and pull the swing frame apart.
Before replacing the bushings, remove any remaining grease (do not use gasoline or diesel, as the bushings will be burned out by the torch). If you are using a welding machine, be sure to disconnect the battery. The welding method involves placing an electrode on the inside of the bushing and making circular movements inside. After about 30 seconds, the bushing will shrink and can be knocked out. Immediately insert the preheated new bushing, using soft metal as a spacer to prevent it from splitting.
Some bushings need to be removed with special tools rather than knocked out. Steering cylinder bushings can be cut out with a grinder and removed with a chisel, or new ones can be heated and pressed in.
All replacement bushings should be prepared in advance at the installation locations so that you don't have to look for them, as they will shrink when they cool and become more difficult to install.
Once all bushings in the chassis, slewing frame, slewing cylinders and excavator boom have been replaced, assembly can begin. First replace the sliding washers in the chassis and slewing frame. Start with the slewing frame suspension and install the top pin, then drive the bottom pin in from the bottom. Install a new washer and nut, lubricated with thread sealant, and tighten with a 65 mm socket with a 1.5 m extension (400-600 Nm torque). Then return to the top pin, lift it and install the washers to prevent the slewing frame from moving up and down. Check that the slewing frame moves evenly throughout its range of operation.
Then install the cylinders, new pins and mounting bolts. Place the boom on the lift, secure with pins and connect the boom lift cylinder. Connect the hydraulic hoses with new O-rings and top up with hydraulic oil. Here you can find all the necessary parts, components for the hydraulic system.
Finally, paint the areas where the bushings were heated with a paint color that matches the machine.
